The GPS & Spot‑Management Playbook for Anglers
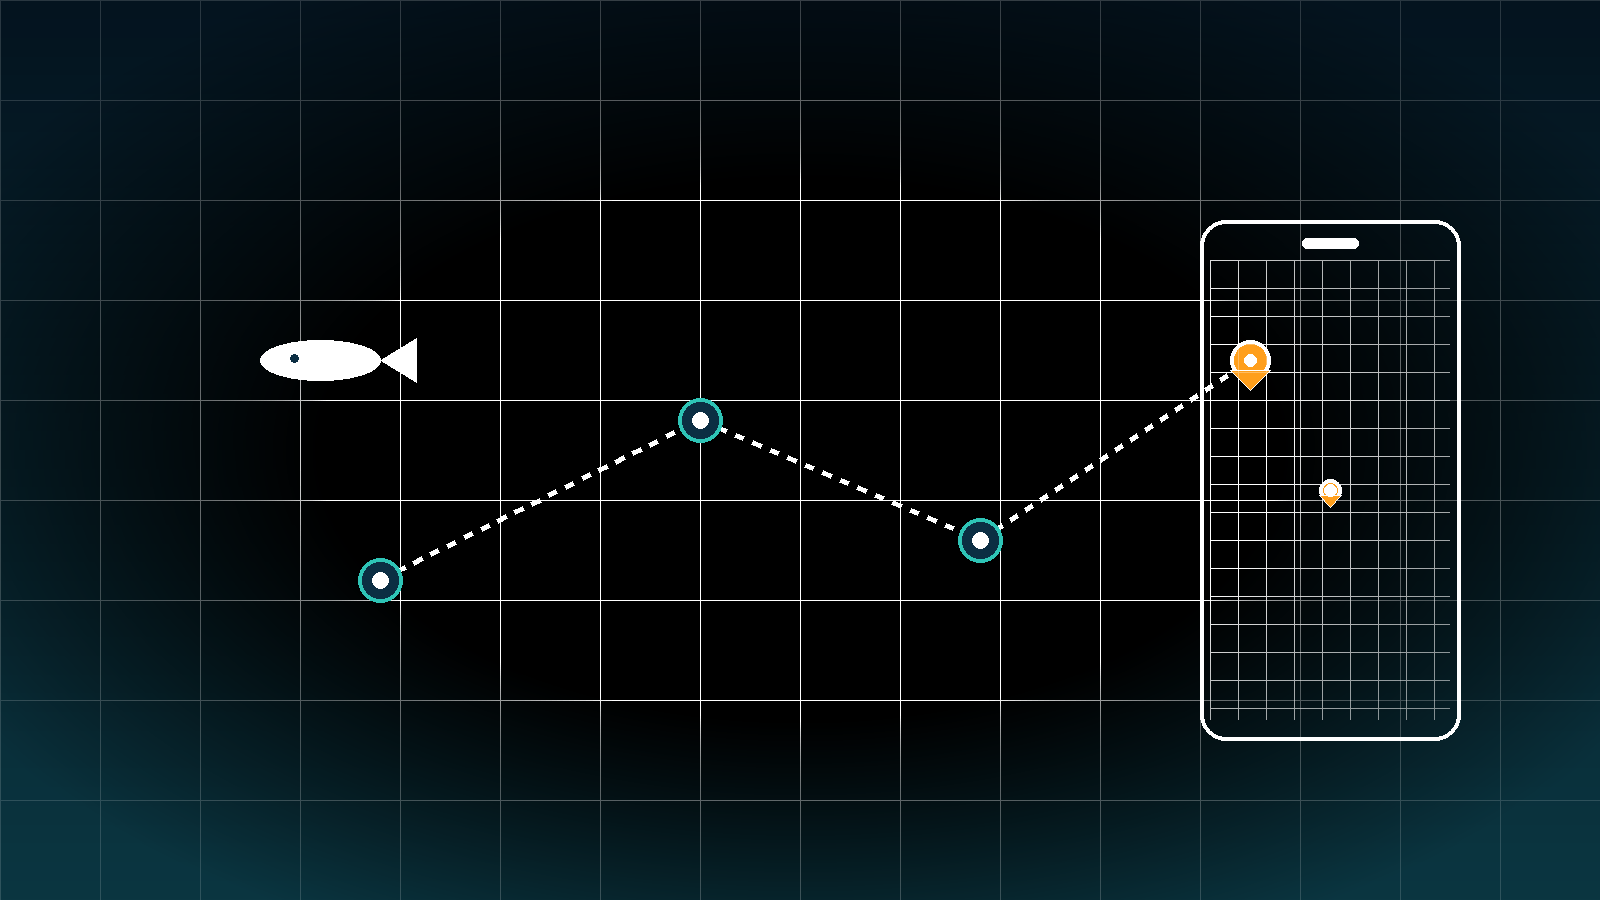
What location first actually means
Fish move, but structure and access routes do not. If you can describe a place clearly and match it with the conditions that made it work, you can return and repeat.
- You can point to the exact piece of structure you targeted, not just a bay name.
- You can describe the approach you used to get your bait or fly into the strike zone.
- You can tell future you which conditions were present when the bite happened.
The minimum fields to capture for every spot
You do not need a lab. You need consistency. For each new waypoint or promising piece of water, log these items:
- Precise position. Latitude and longitude, or a pin you can re find without guessing.
- Structure and cover. Examples include inside turn, rip line, shell bar, grass edge, rock spine, drop from 3 to 6 feet, wreck bow.
- Conditions. Tide stage or current strength, wind direction and speed, water clarity, water temperature, sky.
- Timing. First bite window and best bite window.
- Forage and signs. Mullet schools, glass minnows, crabs, ballyhoo, shad balls, birds, shrimp pops.
- Presentation. Lure or fly, color, depth, speed, line and leader, angle of retrieve or drift.
- Pattern label. A short phrase that sums up why it worked. Examples include wind blown grass points at mid tide or shad pushed onto north point at sunrise.
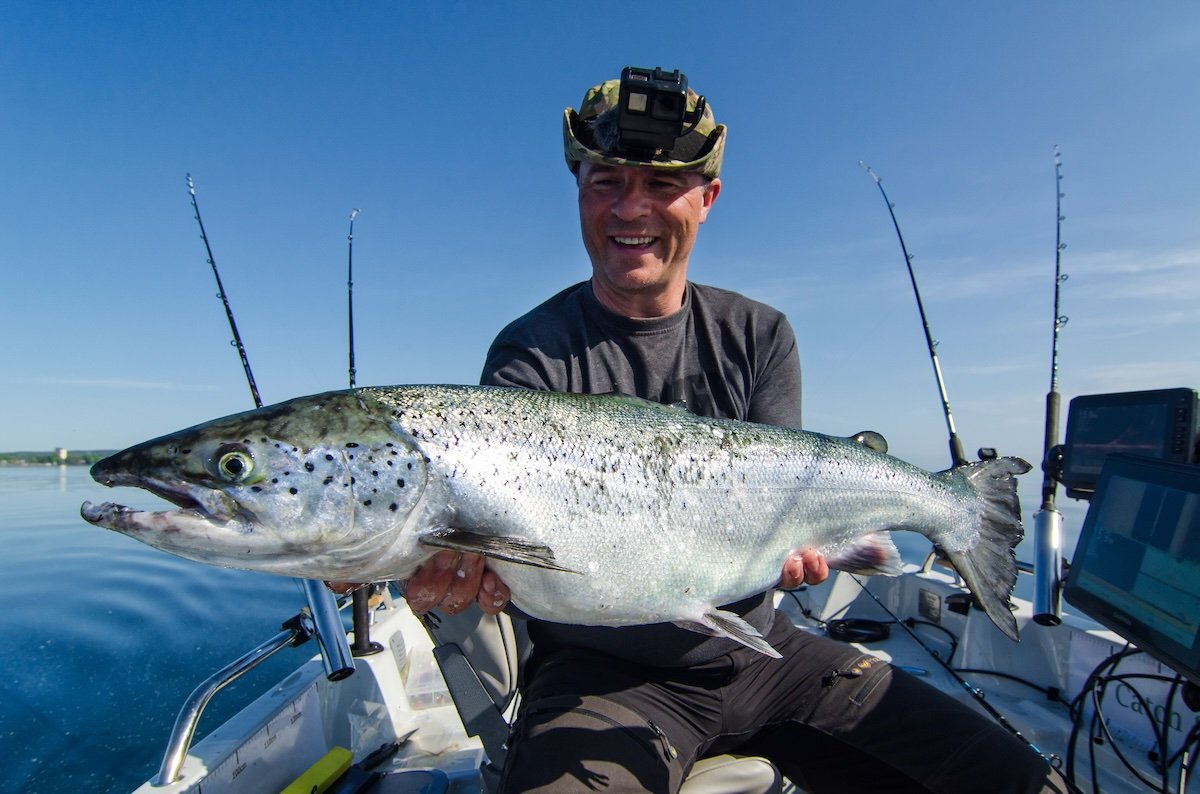
How to capture coordinates quickly
Pick one method that fits your workflow and use it every time.
Drop a pin on your phone map
- Open your mapping app.
- Press and hold on the exact piece of structure, not just the cove.
- Copy the coordinates and paste them into your log entry with a clear spot name.
Read coordinates from a photo
- If your phone location services are on, photos include embedded coordinates.
- After the trip, view photo details and copy the latitude and longitude.
- Paste them into your log entry. If you want the photo public, strip the geotag before sharing.
Boat electronics or handheld GPS
- Save a waypoint with a short code such as HGS 3 for honey grass shoreline number three.
- Later, copy the coordinates into your log so boat data and log data match.
Manual reference
- On foot or on a kayak, drop a pin from satellite imagery while looking at distinctive landmarks.
- Write a short landmark description as backup. Example: pin sits 40 yards east of white gazebo and lined up with radio tower.
Simple spot naming that future you will understand
Keep names short and descriptive. Use a consistent pattern such as Waterbody Region Structure Index.
- LittleLake NorthShore InsideTurn 02
- BayX BackFlat OysterSpine West
- Reef12 Wreck SouthEdge DriftA
You can add a privacy layer by using codes for your public notes. For example, LL NS IT 02 maps to the longer private name in your key.
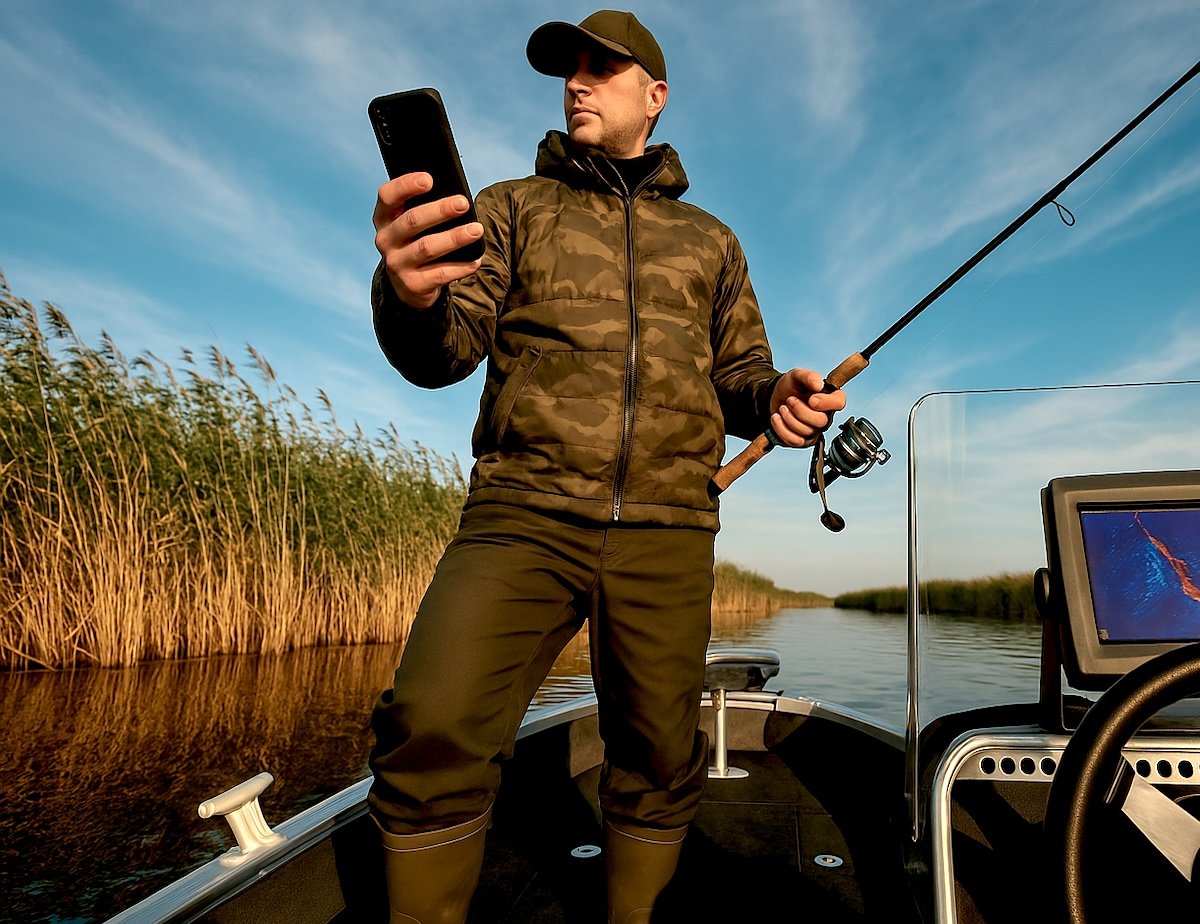
A reliable on the water workflow
Good logging should never interrupt fishing. Use this three step loop.
Before the trip
- Choose three candidate spots that fit the day’s tide, wind, and season.
- Write the plan in one sentence per spot. Example: start on inside turn 02 at first push of flood with paddletail, quartering cast upcurrent.
On the water
- Log your first bite at a spot, even if the fish comes off. First bite timing and angle teach more than the hero shot.
- If a spot fails after a fair try, record what you changed. No result is still useful data.
After the trip
- Add a pattern label to the spot if it produced.
- Tag the spot with conditions so you can filter later.
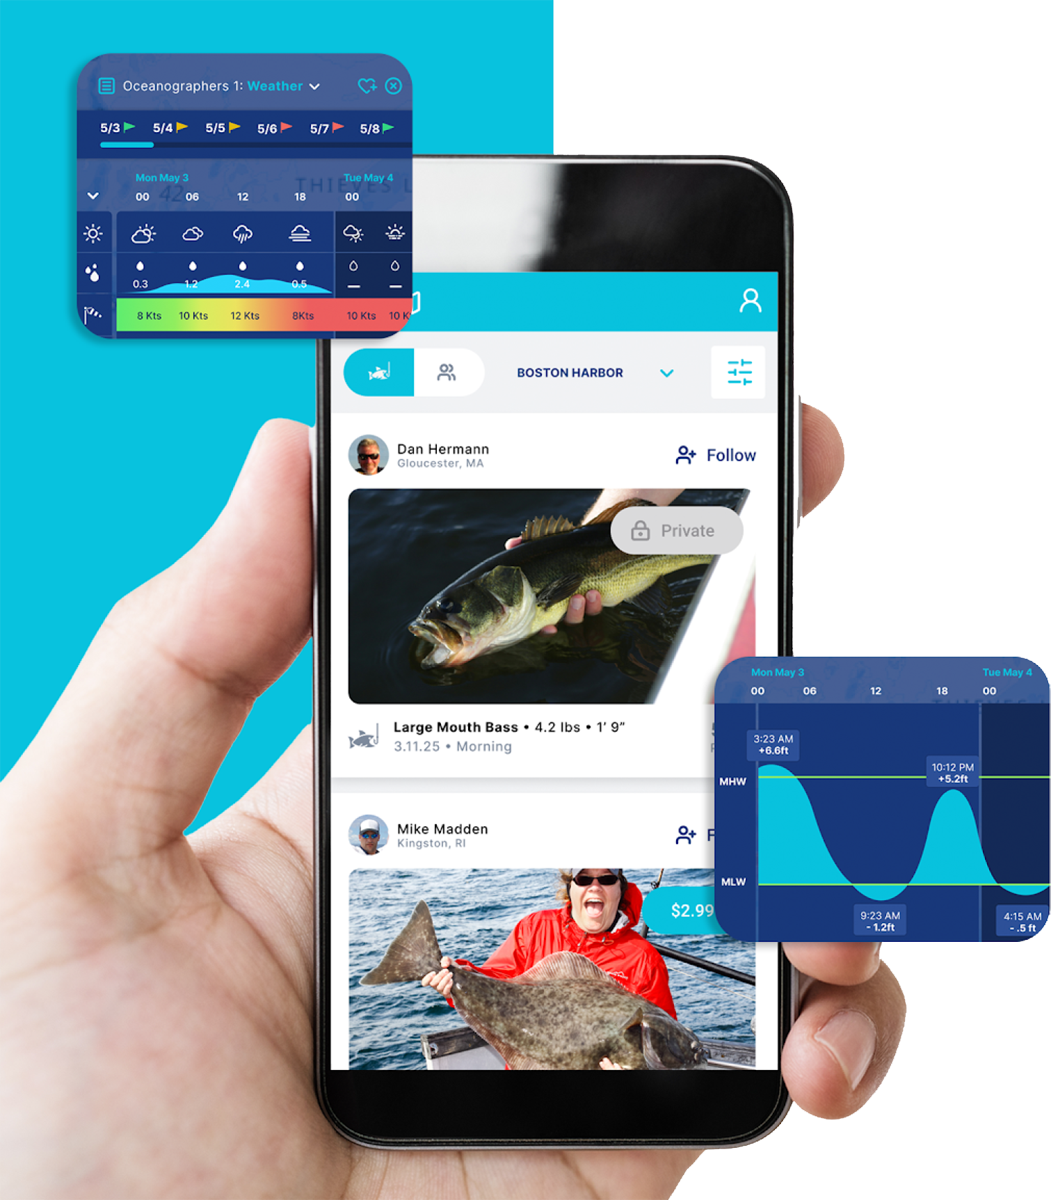
- Attach one photo that tells the story. If you use Log.Fish, you can share the same photo to social from the logging flow, which keeps your phone routine simple.
Privacy and spot security
You can share the fun without giving away the exact pin.
Three fast wins
- Turn off location services for your camera before you shoot a public photo.
- When you share a map, crop it tight so shoreline shapes and gridlines are not obvious.
- Share patterns, not coordinates. It is fine to say wind protected grass points with stained water at mid tide.
Tier your access
- Private. Full coordinates, structure notes, and approach angles live in your log only.
- Partner. A fishing partner gets the pattern label and timing windows, not the raw coordinates.
- Public. Share the fish, the technique, and the conditions, not the pin.
From dots to patterns
Think of your atlas as a growing matrix. Rows are attempts at a single spot. Columns are the key conditions you care about. After three or more tries, the matrix tells you what repeats.
Pattern matrix example for an inside turn
- Attempt 1. Flood tide, southeast wind 10, clear water, paddletail slow roll. Two bites at the first push.
- Attempt 2. Slack high, southeast wind 5, clear water, topwater. No bites.
- Attempt 3. Flood tide, east wind 12, lightly stained, paddletail slow roll. Three bites in 20 minutes.
Pattern label that emerges. Flood tide plus wind stacking on the point with a slow roll just off the grass. That becomes your trigger to choose this spot next time.

Use cases with concrete examples
Small lake largemouth on a windy point
Scenario. A 150 acre lake with gentle points on the north shore. Morning forecast shows a south wind building to 12.
What to do. Pre trip: flag NorthShore Point 02 as the primary. Plan a cast that travels from deep to shallow with the wind pushing bait onto the point. On the water: drop a pin at the line where the point falls from 4 to 7 feet. First pass with a medium diving crankbait, second pass with a swimbait counted down to tick the 7 foot contour. What to log. First contact time, wind angle on the point, crankbait speed that got hit, and whether the bite was on the windy or lee side.
Why it works. Wind groups forage on the upwind face of points. Your atlas now has a labeled trigger for similar lakes and similar mornings.
Inshore redfish on a falling tide creek mouth
Scenario. A marsh system with creek mouths that drain a grass flat. Best movement is two hours into the falling tide.
What to do. Pre trip: mark three mouths with firm bottom and a small inside turn outside the mouth. On the water: start at the highest one in the sequence so you can leapfrog with the falling water. Make quartering casts downcurrent and swing a jig or spoon across the outside seam. What to log. Which mouth produced, how far into the fall the fish bit, where the fish sat on the seam, and whether dirty water helped or hurt.
Why it works. Draining water concentrates bait. Your pattern label might become falling water seam at mouth with firm bottom. You now have a template for other marshes.
Shoreline snook on a summer night bridge shadow
Scenario. A bridge with two lights that throw a distinct light line. Current pushes from right to left.
What to do. Pre trip: mark the dark to light edges and the nearest eddy behind a piling. On the water: cast a small hardbait upcurrent along the shadow edge. Let it swing until it crosses the line, then twitch once and pause. What to log. Tide direction, which side of the light line produced, retrieve speed before the pause, and whether fish held on the upcurrent or downcurrent face.
Why it works. Predators pin bait against contrast edges. Your atlas now includes a night pattern that transfers to docks, piers, and seawalls.
Offshore reef drift line for snapper
Scenario. A wreck sits in 85 feet. Light wind and a gentle current from south to north.
What to do. Pre trip: plot a drift line that crosses the upcurrent shoulder of the wreck. On the water: start your drift 80 yards south. Drop baits to depth, then rise 5 feet and hold. Note when you pass the first hard mark on sonar. What to log. GPS where first bite happens, time into the drift, bait depth, and whether the bite sits upcurrent or downcurrent of the wreck.
Why it works. Many wreck bites stack on the upcurrent push. Your pattern label may become 5 feet up on the upcurrent shoulder.
River trout on a cold front with rising barometer
Scenario. A medium river with pocket water. A cold front raises air pressure and lowers flows.
What to do. Pre trip: mark three pockets with a steep bubble curtain. Downsize flies and plan a slower drift. On the water: approach from downstream. Tuck cast to the soft pillow in front of a rock and let the fly stall. What to log. Fly size and color, exact seam where the eat happens, barometer trend, and whether fish hold on front pillows or tailouts.
Why it works. After a front, trout often slide to softer micro spots.
The 90 day atlas plan
Days 1 to 30
Goal. Create a base layer of 12 to 18 verified spots.
- Fish two new spots per week that fit current conditions.
- Log the first and best bite at each.
- Assign a pattern label to any spot that produces twice.
Days 31 to 60
Goal. Convert labels into choices.
- Revisit six of the base spots under different conditions.
- Track which labels hold under wind shifts, water color changes, or different tide stages.
- Trim any spot that fails three times under its stated label.
Days 61 to 90
Goal. Develop a rotation.
- Pair complementary labels so you always have a plan A and plan B for a given day.
- Build a two hour rotation for prime windows such as first light, first push of flood, or last hour of outgoing.
- Write a one page season summary for your water and keep it in your log for fast decisions.
Protecting your honey holes when you publish or post
- When posting a photo, use a background that does not show distinctive shoreline or landmarks.
- If you share a map view for teaching, draw a simple cartoon diagram and label structure types instead of sharing a screenshot.
- Give readers the pattern, the approach, and the conditions. Reserve raw coordinates for your atlas and trusted partners.
A simple printable spot card
If you like a paper backup, keep a small card you can fill out in seconds. Include these lines:
- Spot name and coordinates
- Structure and approach
- Tide and current
- Wind and water notes
- First bite time and best bite time
- Pattern label
Download the free Log.Fish Fishing Log PDF and add two small lines for latitude and longitude plus a box for your pattern label. For a comparison of phone app versus paper, see phone app vs. paper fishing log.
How to use this playbook inside a log app
- Create a field in your entries called Spot Name and keep the short code consistent.
- Paste coordinates into your notes or a coordinates field if your app supports it.
- Attach one photo that shows the structure or the fish. Log.Fish lets you share the same photo to social from the logging flow, which keeps your routine simple.
- Add a Pattern Label tag to each entry. Over time you can filter by label to plan your next trip.
Ready to put this to work today. Visit the Log.Fish download page. For device specific help, see the best fishing log app for your iPhone and fishing tracker app.
Frequently asked questions
What is the best way to record fishing catches and locations
Use a phone map pin plus a short code name in your log. Copy the coordinates into the entry and add a pattern label. If you prefer paper on the boat, use the printable spot card and transfer the data after the trip.
How do I keep GPS coordinates private when I share a catch
Strip geotags from photos, crop any map views tightly, and describe the pattern, not the pin. Partner shares can include timing windows and approach angles without the raw coordinates.
Can I recover coordinates from photos later
Yes, if location services were on when you took the photo. Open the photo details to view coordinates, then copy them into your log. If you want the photo public, remove the location data before sharing.
How many waypoints are enough for a new lake or shoreline
Aim for 12 to 18 verified spots before you call a map usable. Each one should have clear structure, a simple approach, and two or more confirmed bites under similar conditions.
Resources and next steps
- Get the printable Fishing Log PDF. Add lines for coordinates and a pattern label so the sheet mirrors your app entries.
- Start logging with the app on the Log.Fish download page. Keep your routine simple. Capture the pin, tag the structure, and attach one photo.
- Browse more tutorials in Tips and Tricks.